Wednesday, May 19, 2010
Sunday, May 16, 2010


Saturday, May 15, 2010
100 Words
My model has been developed from the rhythm and repetition design principal. The principal of rhythm has been used to create the levels, the exterior pieces and the window sizes. This combined with repetition of a single shape has created my model. I wanted to keep with three colours and found that when i altered the orignial tile with neon glow I could choose the third colour i wanted to use. I ended up chosing purple as I felt it was a good contrast between the black and white. I have then matched the purple in my tile with the sketchup purple and used this in my model.
Wednesday, May 5, 2010


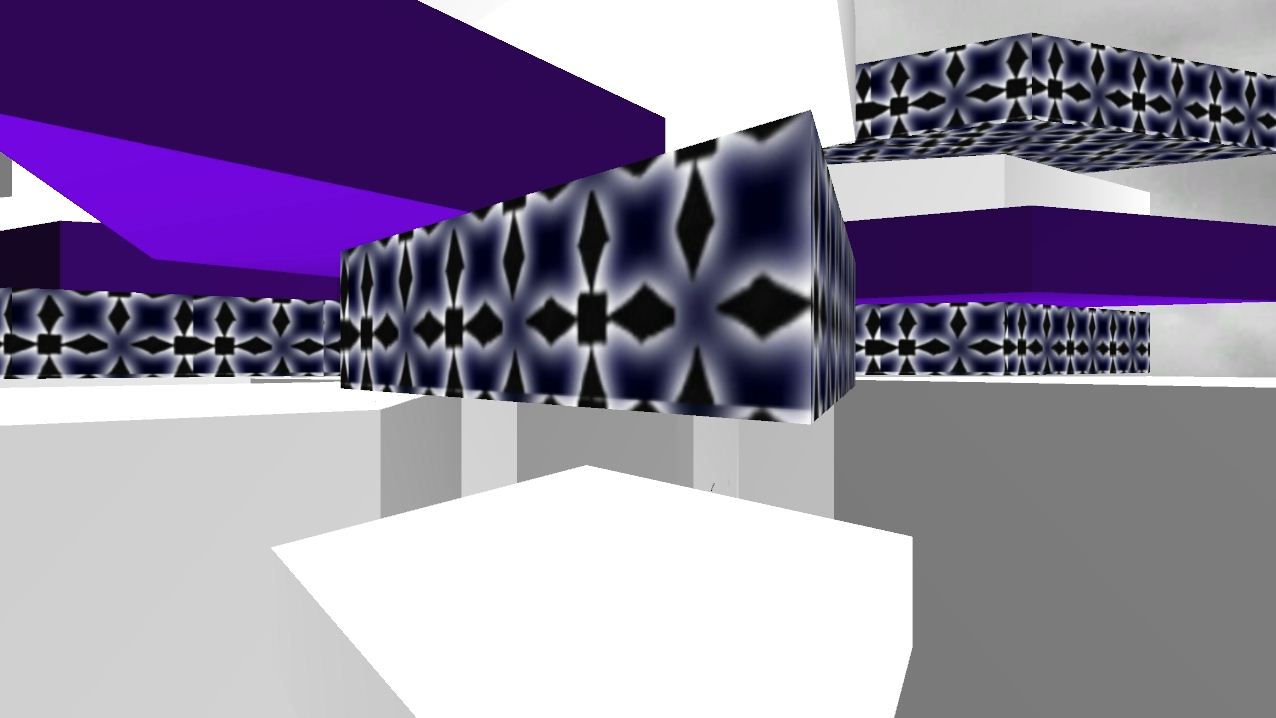
Render Attempt 2 - Interior View with HDR Ray Tracer

Inside the model

Moving into the model

Looking in from the exterior of my model

Tuesday, May 4, 2010
Render Attempt 2 - Interior View with HDR Ray Tracer

Adding more point lights.
I also changed the render gamma in this scene which made the purple lighter than in the rest of the model. I will need to change this back when I add in more lighting.

Adding point lights into scene
To light the interior scenes I had to put heaps of lights into one area to make the whole area visable. I think this is due to my model being so large. From here I can either resize my model in SketchUp so that i am able to use less lights or take the time to keep adding in the interior lighting.


Subscribe to:
Posts (Atom)